Toe stop installation or maintenance isn’t something we really paid too much attention to until ours started to wear down to the point where you could see the metal stem through the rubber. Big mistake. Huge! That’s always a sure sign that something needs to be replaced, right? No matter what you’re stopping on, let’s learn a little bit more about setting them up.
What You’ll Learn
- Installing new toe stops, or replacing your old toe stops is a basic skate maintenance skill that’s also a solid introduction to working on your skates if that’s new to you.
- Knowing how to rotate your toe stops from skate to skate periodically helps save you money in the long run because you’ll get more mileage out of your toe stops and have to replace them less often.
- Learning how adjusting your toe stops to varying heights can potentially affect your skating and stopping helps you learn what height is best for how you prefer to skate.
What You’ll Need
Time
- The steps below typically take about 20 to 30 minutes from start to finish including cleaning up afterward.
Skills
- Some light wrenching; loosening and tightening
- Measuring toe stop height
Supplies
- Toe stop wrench (varies by plate)
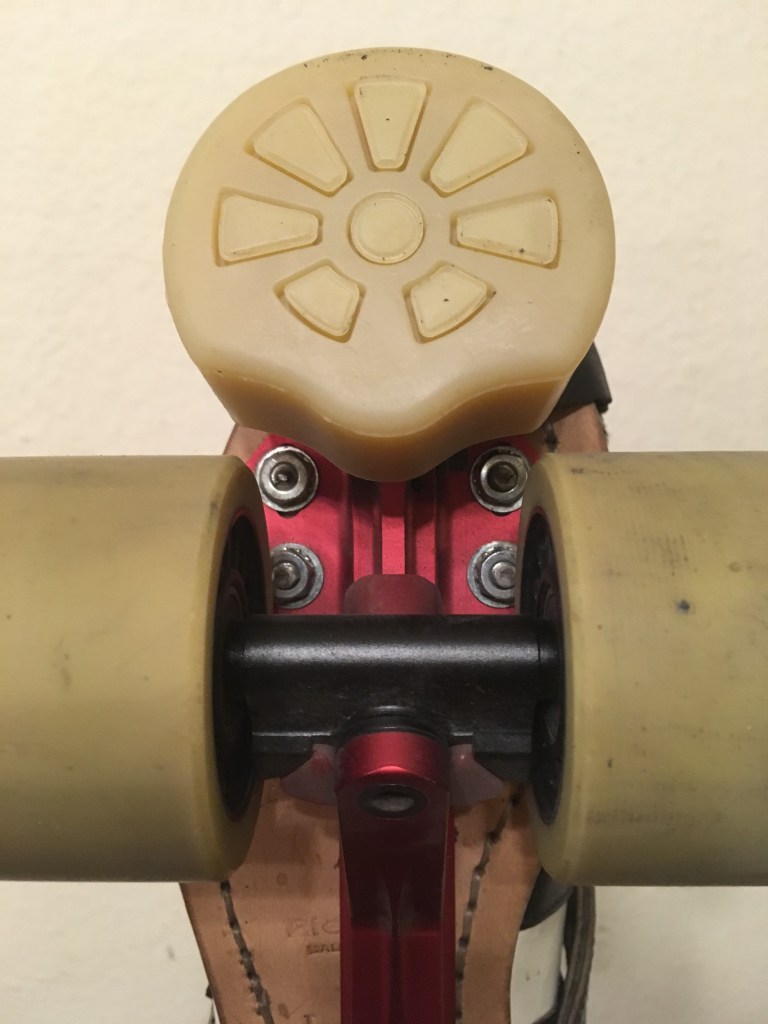
- For an Arius plate you’ll need a 5mm hex tool similar to the one pictured
- Toe stops
- Currently crushing on Gumball Superballs
- Toothbrush for cleaning (if only adjusting/rotating)
- Old towel/paper towels for cleaning and clean up
- Ruler or measuring tape to check toe stop height
Preparation
Before you get started, get all of your supplies staged wherever you’re working on your skates, and make sure you’ve got an old towel or rag to wipe your hands on and for any cleaning of your toe stops or plates while you’re doing work. Toe stops aren’t a very dirty job, but whenever you’re working on your gear, we recommend working somewhere that can get dirty.
Step One
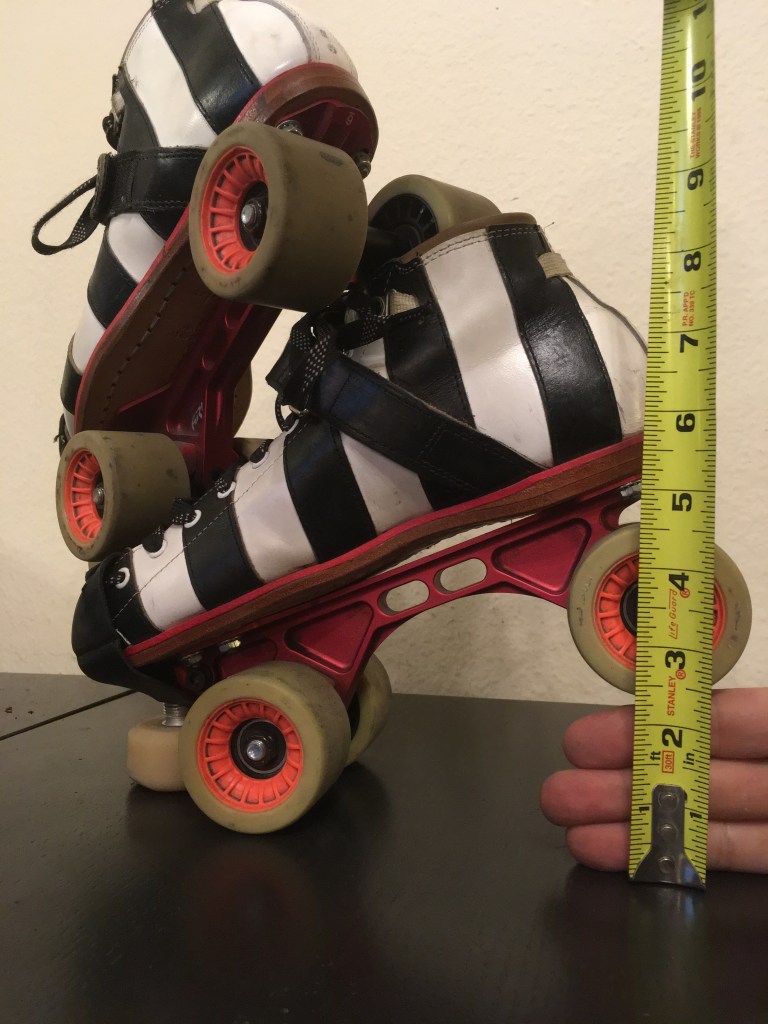
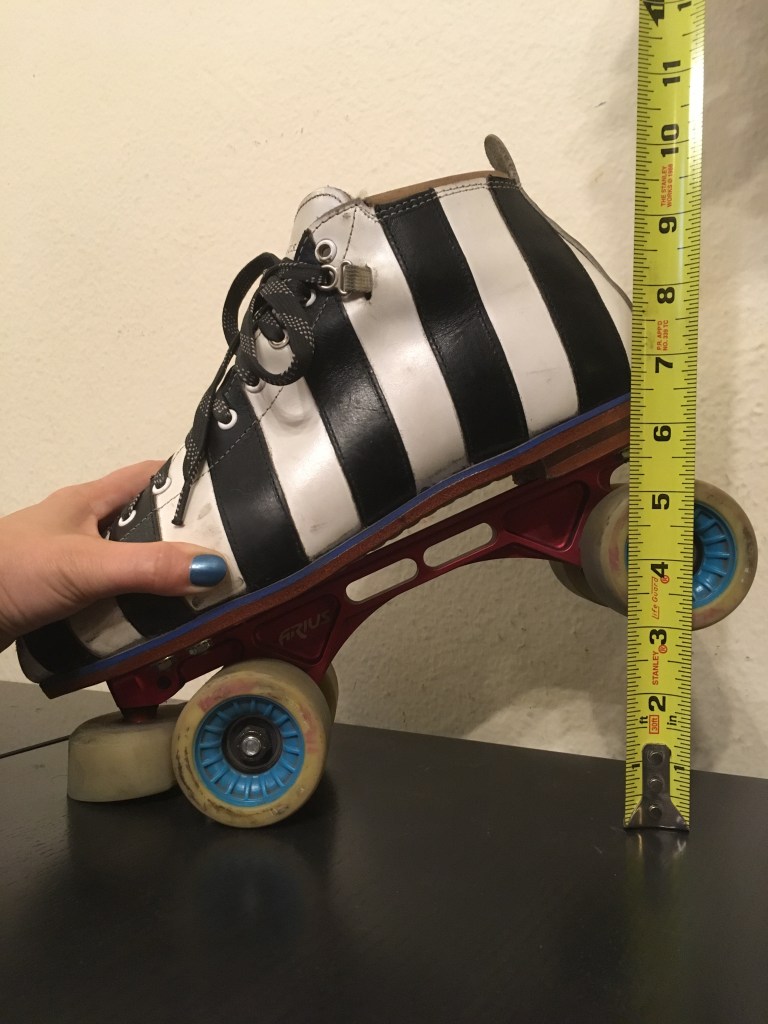
First things first: if you already have toe stops in your skates, then first measure your toe stop clearance to see where you’re at in terms of height when your skate is “up” on the toe stop. Anecdotal knowledge suggests 3 inches of toe stop clearance height, though some suggest 3 fingers, but everyone’s tastes (and fingers!) are different so you do you, boo. The idea here is to measure your set up to see what height you’re used to first. Once you make a note of that, you can experiment later with different heights to see if you like less or more clearance in your setup.
Step Two
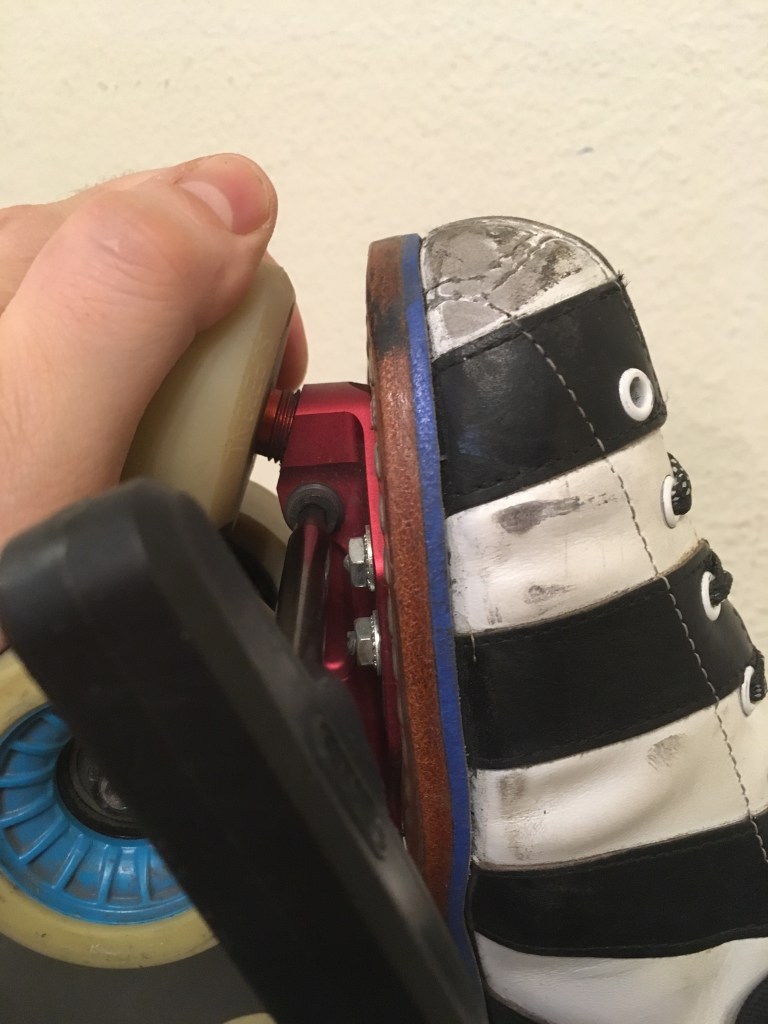
Next, remove your old toe stops with your wrench. Our Arius plates use a 5mm hex screw, but whatever you’re loosening or tightening, always make sure your wrench is the right size for the screw, and that it’s secure and stable when you’re turning so you’re sure not to strip the screw.
Step Three
With the old toe stop removed, clean the threading on your plate, either with your old towel, a q-tip, or our preference, a trusty old toothbrush. Old toothbrushes are great for cleaning, they’re reusable, and they’re pretty resilient.
Keeping the threading on your plates clean will ensure no dirt or grit or other nastiness gets caught up in the threading when you’re installing your new toe stops.

Step Four
Thread your new toe stops into your plate, starting slowly to ensure the toe stop isn’t cross threading in the plate. Don’t worry about getting your toe stops at the perfect height the first time; we’ll measure again to get the preferred height. Don’t tighten the screw or nut too tightly just yet, just in case you have to make adjustments after measuring.
Step Five
Measure your back wheel clearance height and make any adjustments you need to get it dialed in to your preferred height, and make a note of that height for next time you switch toe stops. If you’re changing to a new stop, keeping the height consistent will help your transition to the new setup by keeping the height consistent with what you’re already used to.
Step Six
Once you’ve got your desired toe stop clearance height, crank those screws down in the plates to keep the stops nice and tight and from “walking” or turning in the plates. After installing new toe stops, we suggest checking your toe stop tightness after every session for the first few, just to make sure they’re staying put. After that, checking them every other session is fine.
Making Adjustments and Next Steps
When making adjustments to your toe stops, backing them out of the plate more and reducing the amount of clearance from the stop to the floor is going to make your stopping feel more responsive, but be aware that depending on your stride if you back your toe stops out too much they might touch the floor when you don’t want them to. Measure, experiment, and figure out what works best for you.
Every 6 months (or less if you’re skating more) measure your back wheel clearance when on your toe stops to make sure the stops are wearing evenly. If you can rotate them every so often so they wear more evenly, then they’ll last longer and save you a little dough in the long run because you won’t have to replace them quite as often.
ALERT!
If you skate on Arius plates, please read this:
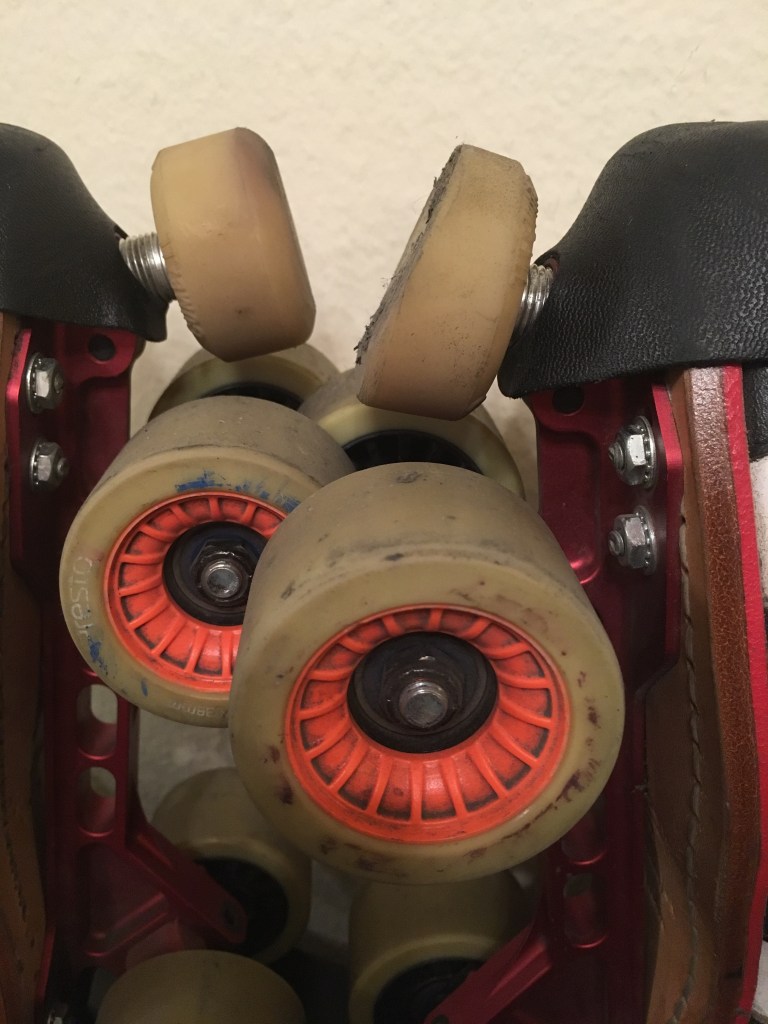
We experienced our toe stops turning or “walking” in our PowerDyne Arius plates. In the short term, a little toe stop turning isn’t that big of a deal, but over time if you’re not regularly tightening your toe stops or don’t notice this is happening your stops could get loose or even fall out.
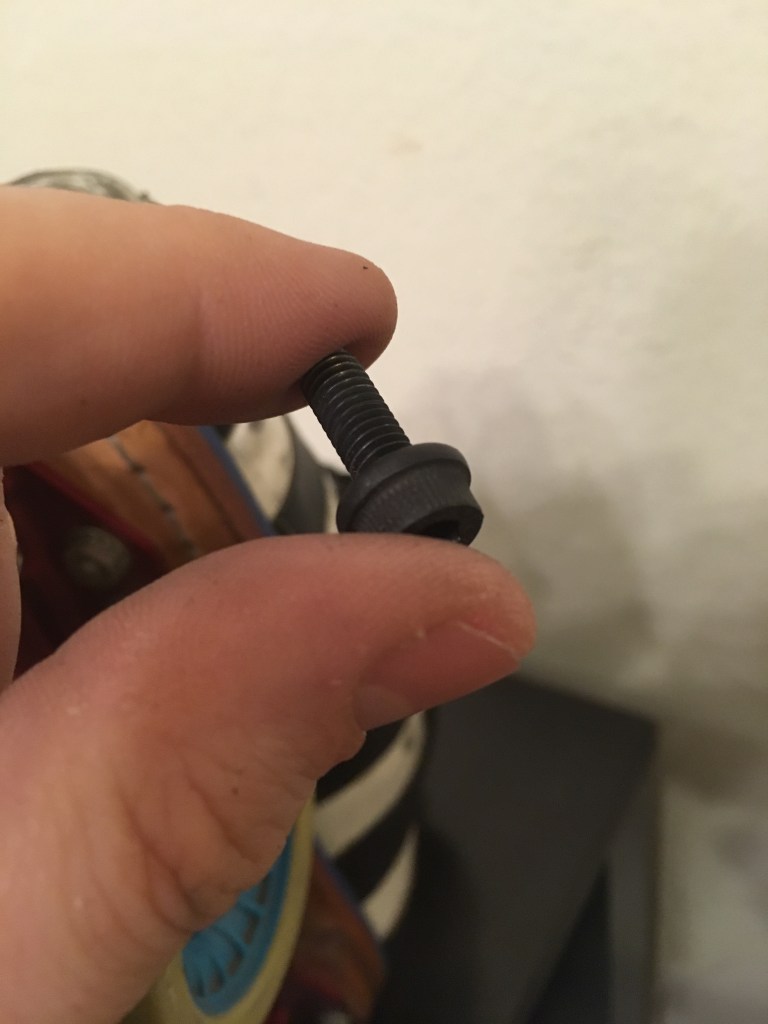
After asking around in the skating community we learned that PowerDyne had issued a revision to the hex screw that secures the toe stop in the Arius plate.
We acquired the new screws which resolved the issues of toe stops loosening in the plate. Problem solved! The revised screw is similar to the hex screw used to secure the toe stops in the PowerDyne Reactor plate, so check out this photo and if your Arius toe stop screw looks like this one, you should be good to go. If your screw doesn’t have that lip around the edge that kind of looks like an integrated washer, we’d recommend swapping in the updated screws to play it safe and keep your toe stops secured.
Tools of the Trade featured in this How To
Everyone has different tools and supplies they like and here are the ones we like and used for this maintenance:
- Toe stop wrench (varies by plate)
- For an Arius plate you’ll need a 5mm hex tool like the one pictured
- Toe stops
- Currently crushing on Gumball Superballs
- The slightly less expensive and less beefy Gumballs are great too
The Wrap Up
Thanks for checking out our How To on Toe Stop Installation, Set Up, and Rotation. We hope you found it useful and helpful. If you did, please consider sharing it with a friend, and thanks for stopping by!