Do your skates feel like they don’t roll as fast as they did out of the box? Do you feel like you’re not as fast as you once felt you were? If you have bearings in your skates that have rubber shields that you can remove, then bearing cleaning is one of the easiest things you can do to improve the roll on your skates, and get more mileage out of that particular piece of gear. Let’s show you how!
What You’ll Learn
- Bearing removal, shield removal, bearing cleaning and lubricating your skate’s bearings to ensure that they’re free of dirt and debris so they roll fast and spin freely.
- Periodically servicing your bearings and keeping them lubricated can greatly extend their life so you’ll have to replace them less frequently which saves you money in the long run.
- Learning how to service bearings with removable seals will help you make old or dirty bearings feel like they’re new again.
What You’ll Need
Time
- The steps below typically take about 30 to 45 minutes from start to finish including cleaning up afterward.
Skills
- Bearing pulling
- Disassembling bearings
- Bottle Shaking
- Wiping down bearings and wheels
- Applying oil
- Reassembling bearings
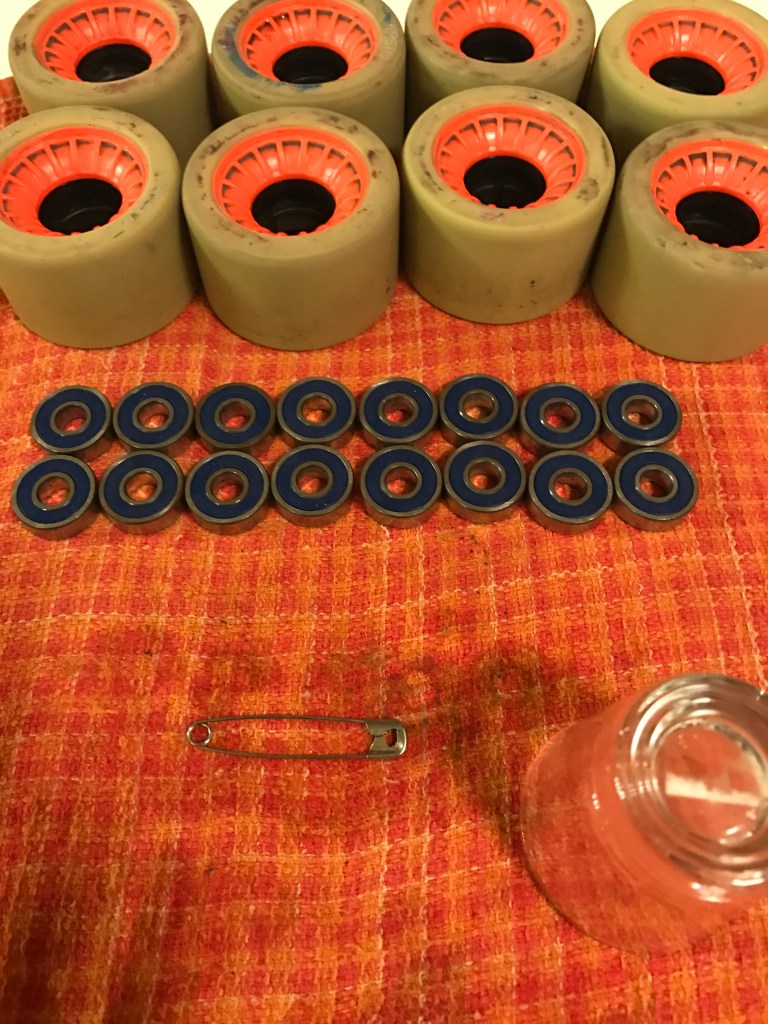
Supplies
- Bearings with removable seals/shields
- Pulling Tool (if bearings not already removed)
- Bearing Cleaning Unit
- Shot glass
- Safety pin or pushpin
- Isopropyl Alcohol (70% and up will do)
- Old towel/paper towels/lint free cloth for cleaning and clean up
WARNING
You’ll be working with Isopropyl Alcohol during this How To on Bearing Cleaning. Isopropyl Alcohol is a solvent, and is dangerous, so make sure whatever surface you’re working on is solvent safe and you’re in a well ventilated area, and that you’re an adult or you have your adult’s permission. All set? Then let’s keep going.
Preparation
Before you get started, get all of your supplies staged wherever you’re cleaning your bearings, and make sure you’ve got an old towel or rag to wipe your hands on as well as to get set up and work on top of in case of any spills.
Step One
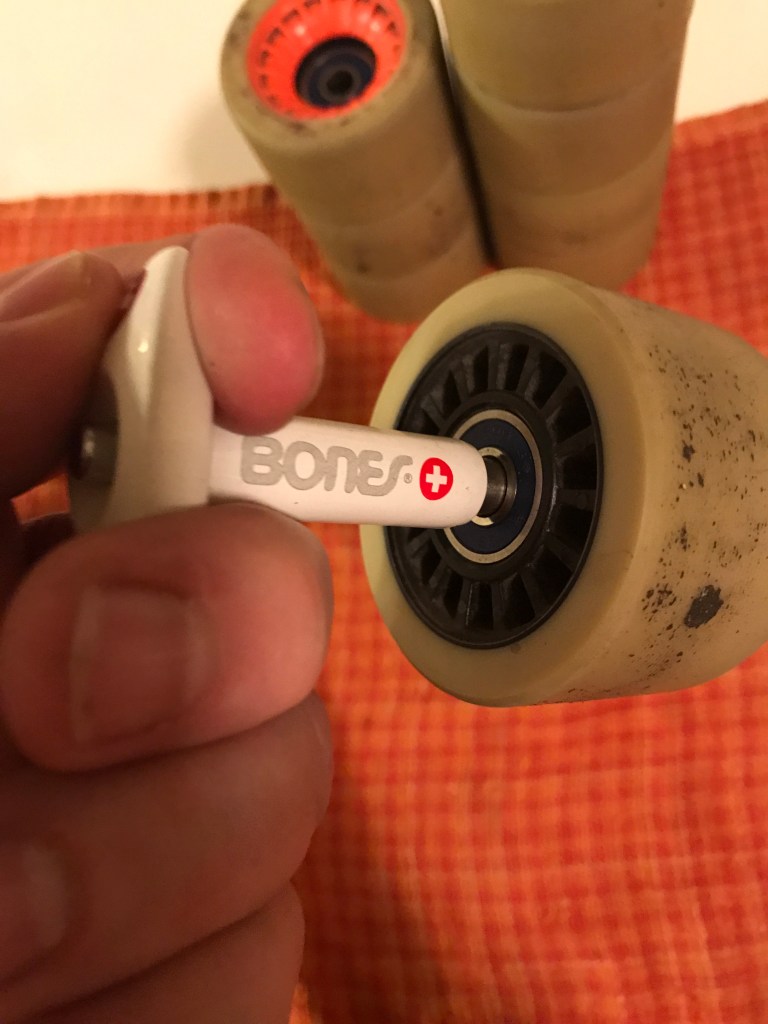
First, we need to get your bearings out of your wheels. We like using the Bones Bearing Puller tool for this because it’s small and it travels really easily in any skate bag. This tool can be used to easily reinstall your bearings back into your wheels when you’re all done as well.
For this particular tool you depress the button on the back of it which releases the catch on the stem, then when it’s inserted completely into the bearing, just release the button and you’re ready to pull the bearing out. Then repeat this again for each of your bearings.
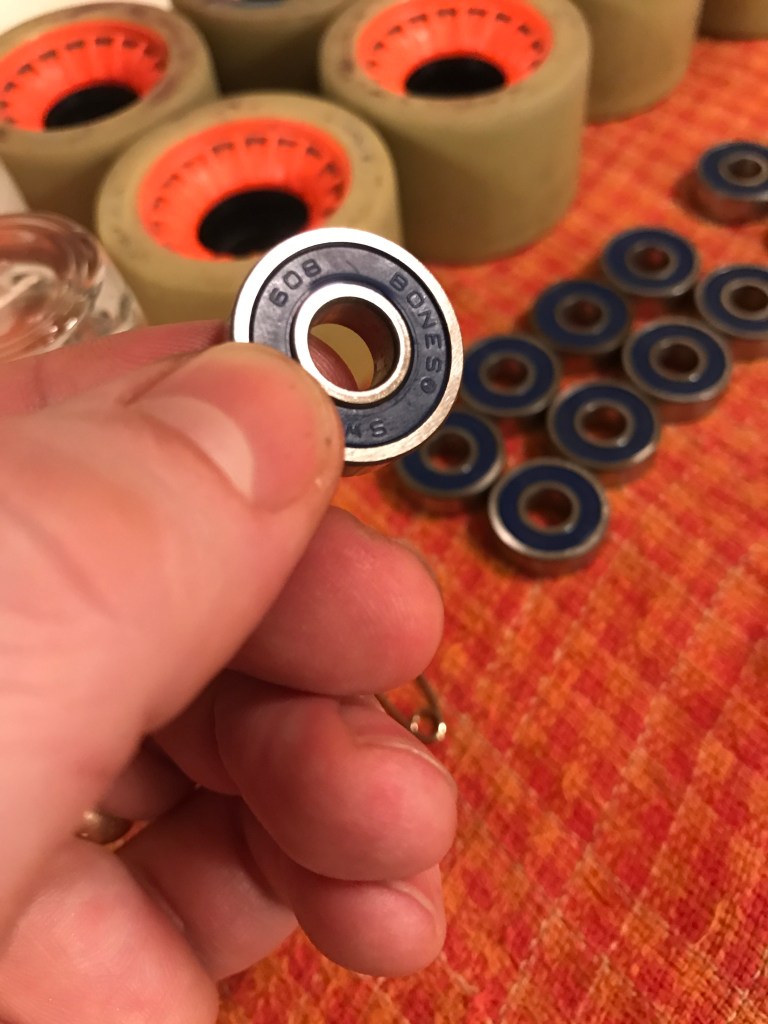
Step Two
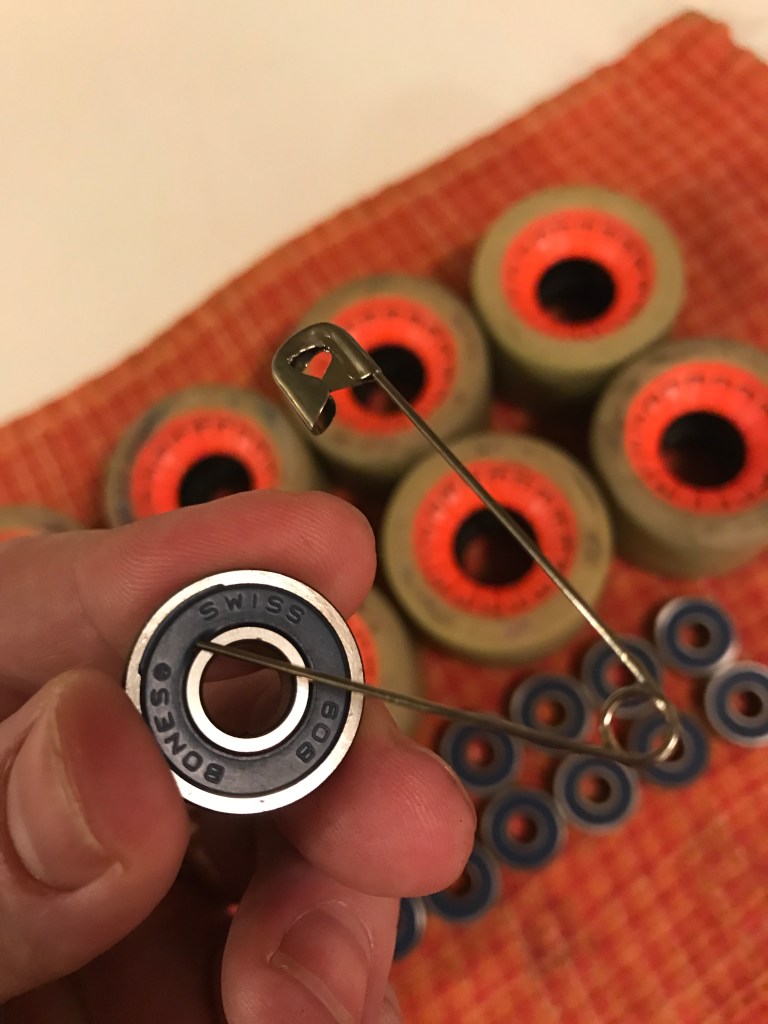
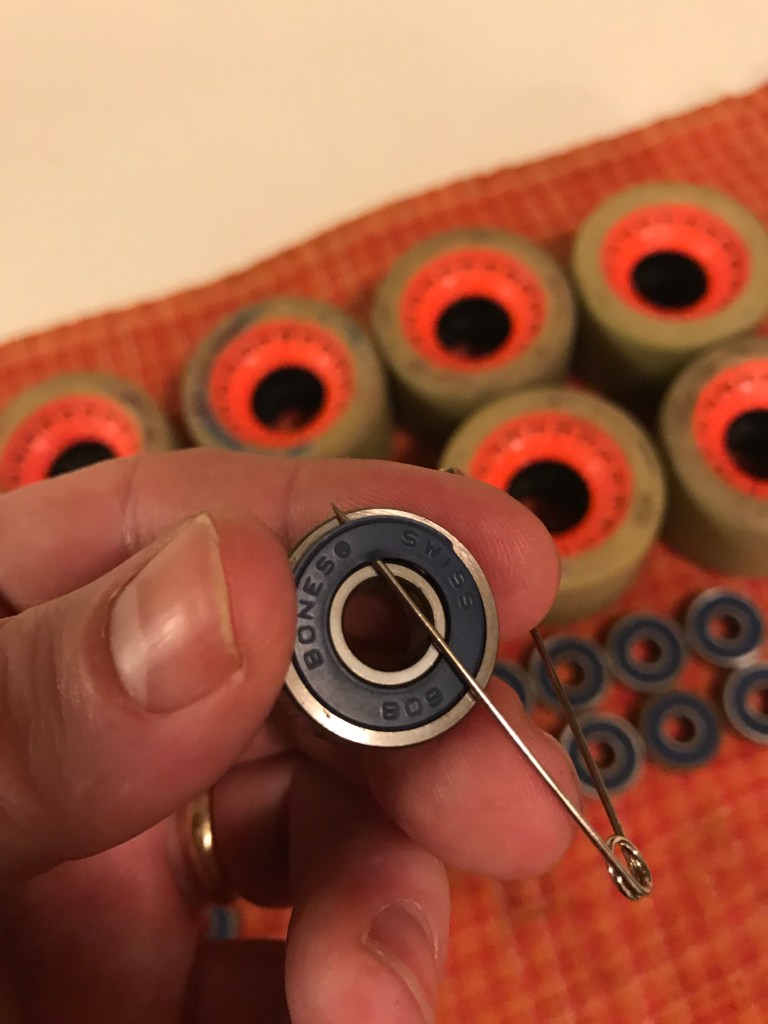
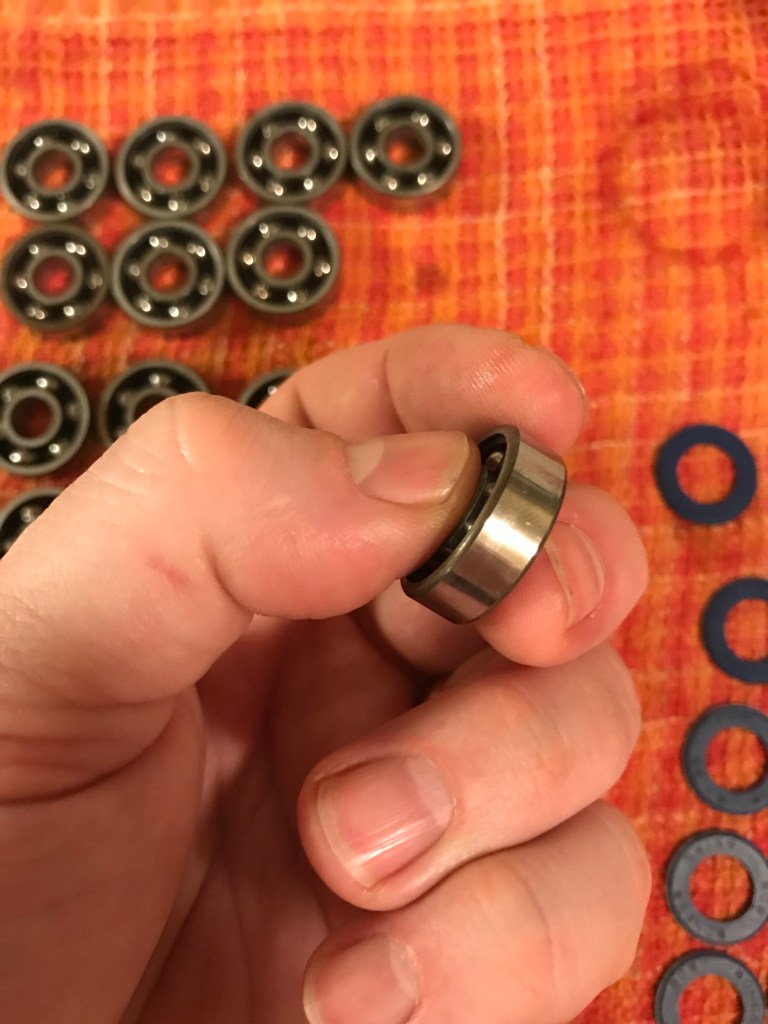
The next step is removing the rubber shield or seal from each bearing. In order to gently remove these shields you’ll have to use a safety pin or pushpin to poke into the bearing between the metal ring inside the rubber shield and the outside bearing enclosure and pry upward from the center or pressing it out from the back. A paperclip can also do the job.
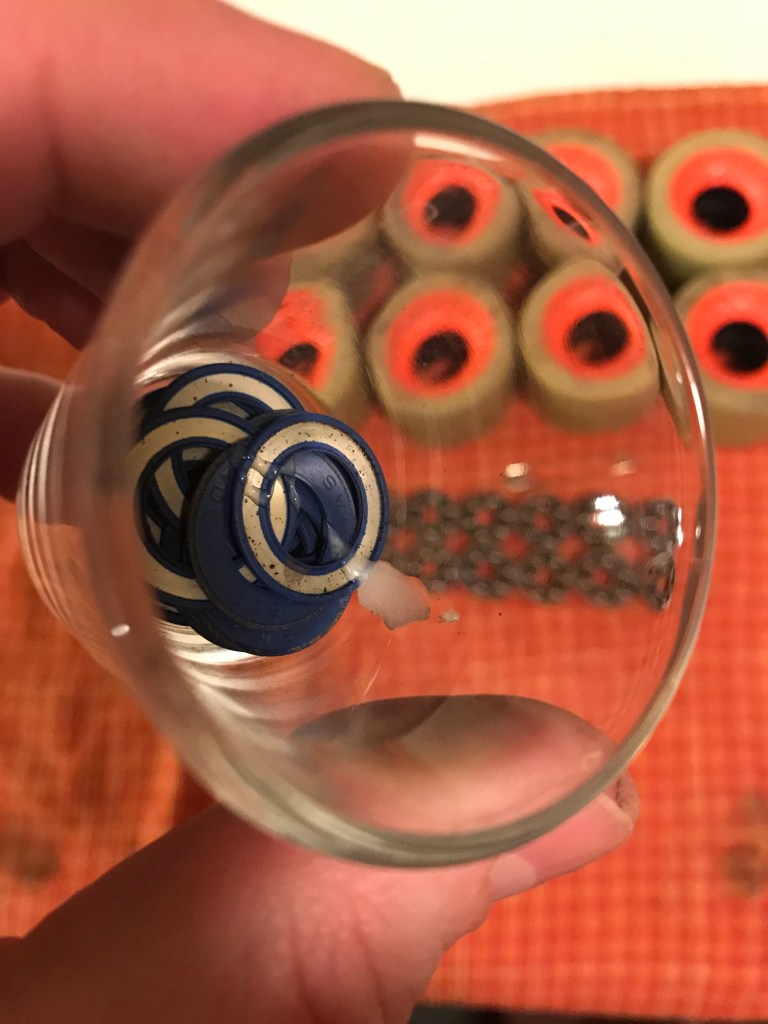
If you’ve never removed the shields from a bearing before, it may take a time or three to get the hang of how to do it. We’ve been doing it for years and we’ll still poke our fingers with the pin every once in a while. Once you’ve got the hang of it, repeat for each bearing and set all the shields aside in a small glass. A shot glass works really well for this.
Step Three
The rubber coated metal shields aren’t really suitable for cleaning with isopropyl alcohol because the alcohol will react with the plastic, and you don’t want that. That said, we’ll add lukewarm water and a small drop of hand soap or another gentle cleanser into the shot glass with the shields.
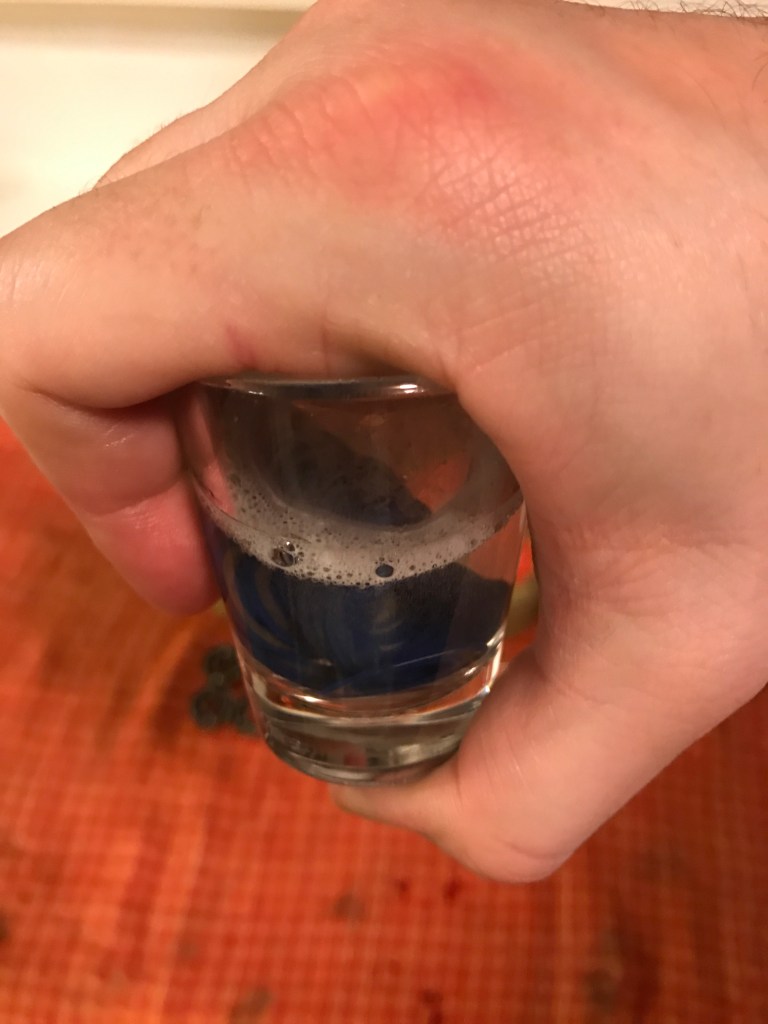
Now cover the shot glass with your firmly with your hand so the water doesn’t spill and give it a good shaking. If you’d like to be extra careful you can put a small piece of cling film on the glass too. Then, carefully drain the water so you don’t let the shields out and repeat with fresh water until the water rinses clear and without any soap or bubbles. Once you’ve rinsed them clean, set the shields aside on your towel and lightly pat them dry. We’ll be back for them later.
Step Four
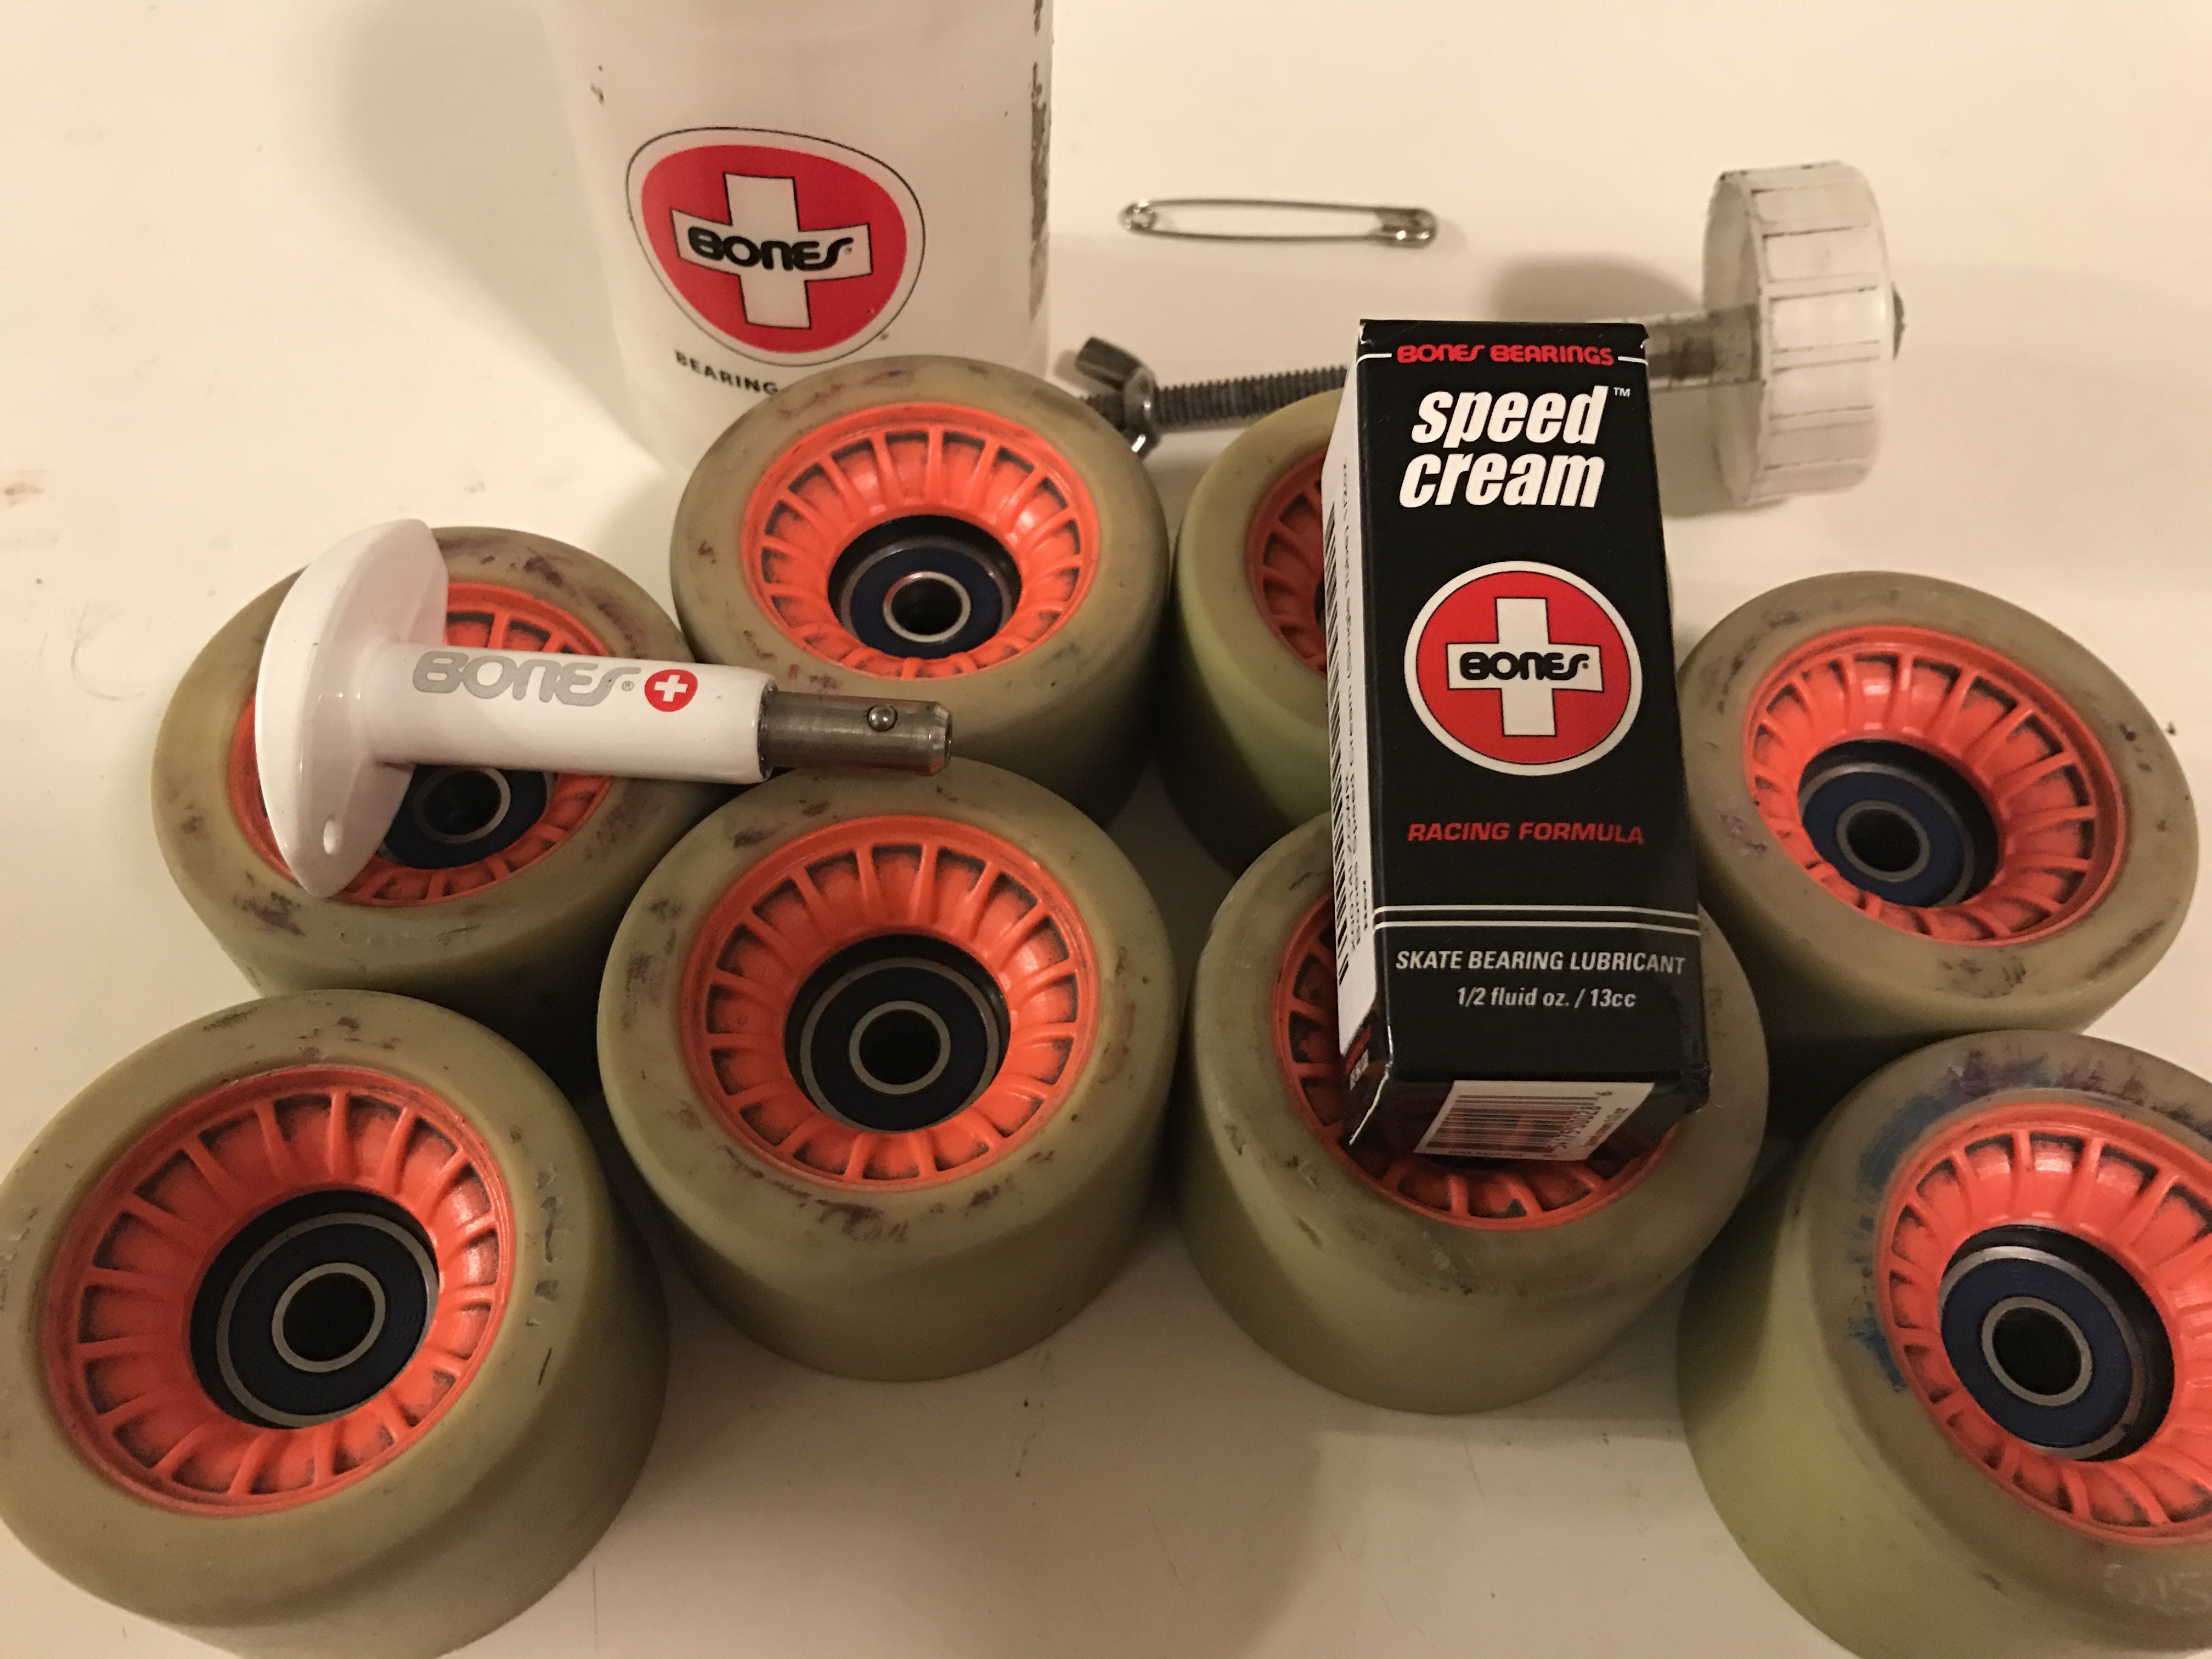
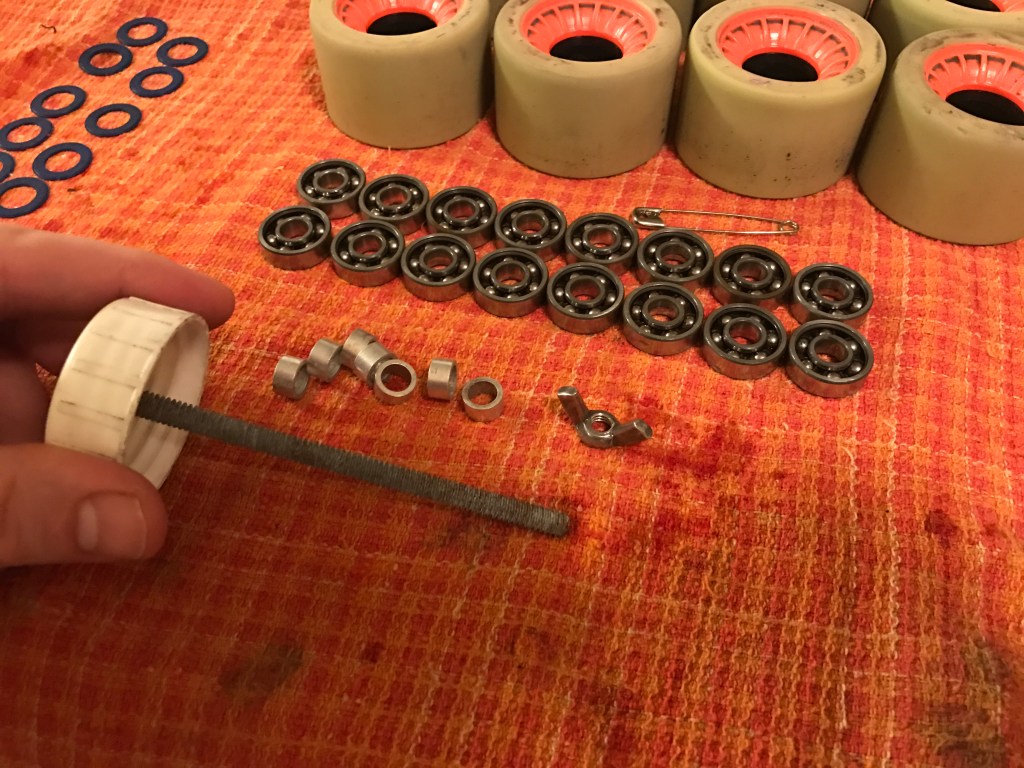
Now we turn our attention to the bearings themselves. For this next step we’ll grab our Bones Bearing Cleaning Unit. It sort of looks like a big vitamin bottle with a threaded axle stuck to the inside of the lid along with some spacers and a wing nut. This item makes cleaning your bearings terribly easy and keeps the process fairly tidy.
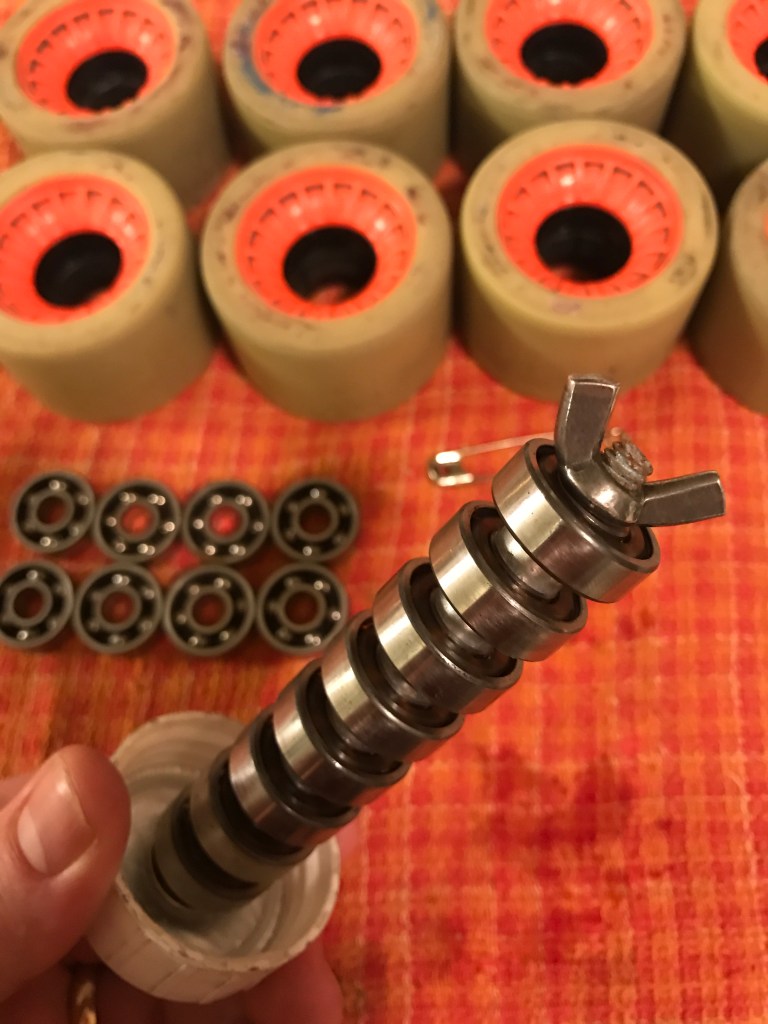
Following the instructions provided with the Bones Bearing Cleaning Unit we’ll place our bearings on the axle (the threaded bolt under the cap) open face up toward the bottom of the cap, alternating from one bearing to one spacer until we’ve got 8 bearings on the axle. Then screw the wing nut on until it’s finger tight. Don’t over tighten.
Step Five
Fill the Bearing Cleaning Unit about 1/3 with the isopropyl alcohol and seal the cap. Agitate the cleaning solution by shaking the bottle vigorously for about 30 seconds. Open the bottle up and give each of the bearings a spin to free up any debris or dirt and then recap the bottle. Shake the bottle again until you are satisfied that your bearings are completely clean. To make sure the bearings are clean, spin them on the axle. Repeat until your bearings are clean.
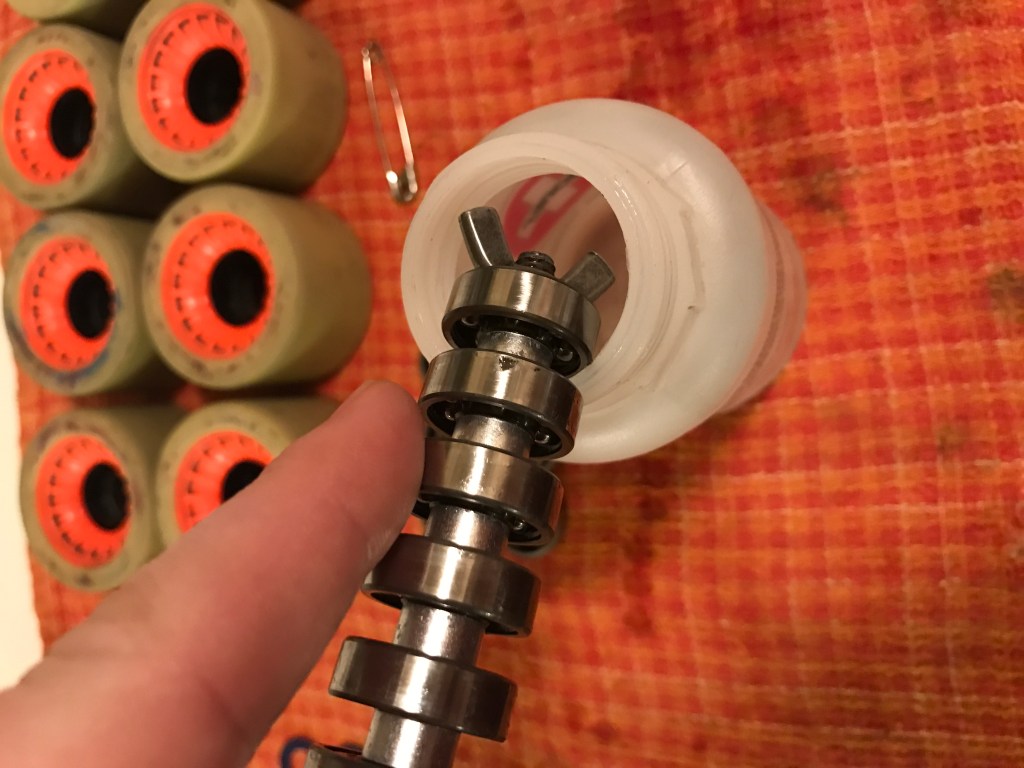
You’ll know your bearings are clean when you spin them on the ale and they spin freely. When you open up the bottle, you’ll see dirt and crud accumulating in the cleaning solution. Depending on how dirty the bearings are that you’re cleaning, you may have to do a few extra rounds of bottle shaking to get them clean.
If your cleaning solution is getting really dirty and you’re not sure if there’s still dirt to clean out of your bearings, you can change out and freshen up the cleaning solution to see if it’s still collecting dirt. When you’ve changed the solution, shake, and it’s clear when you inspect it, then you’re done shaking!
Step Six
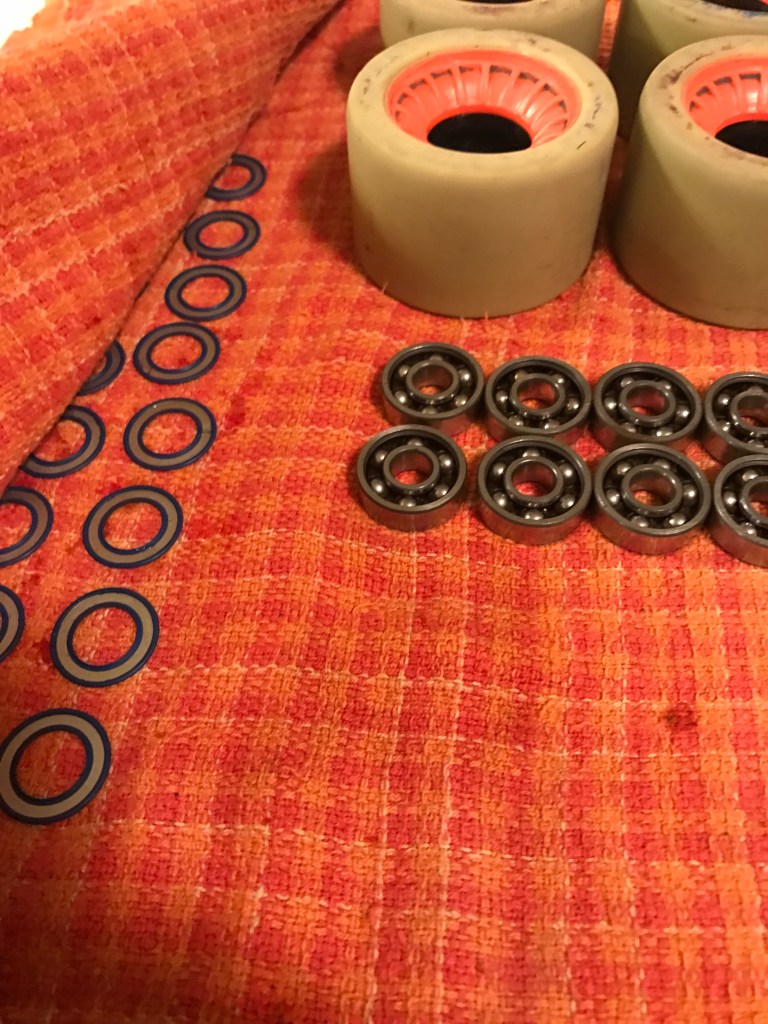
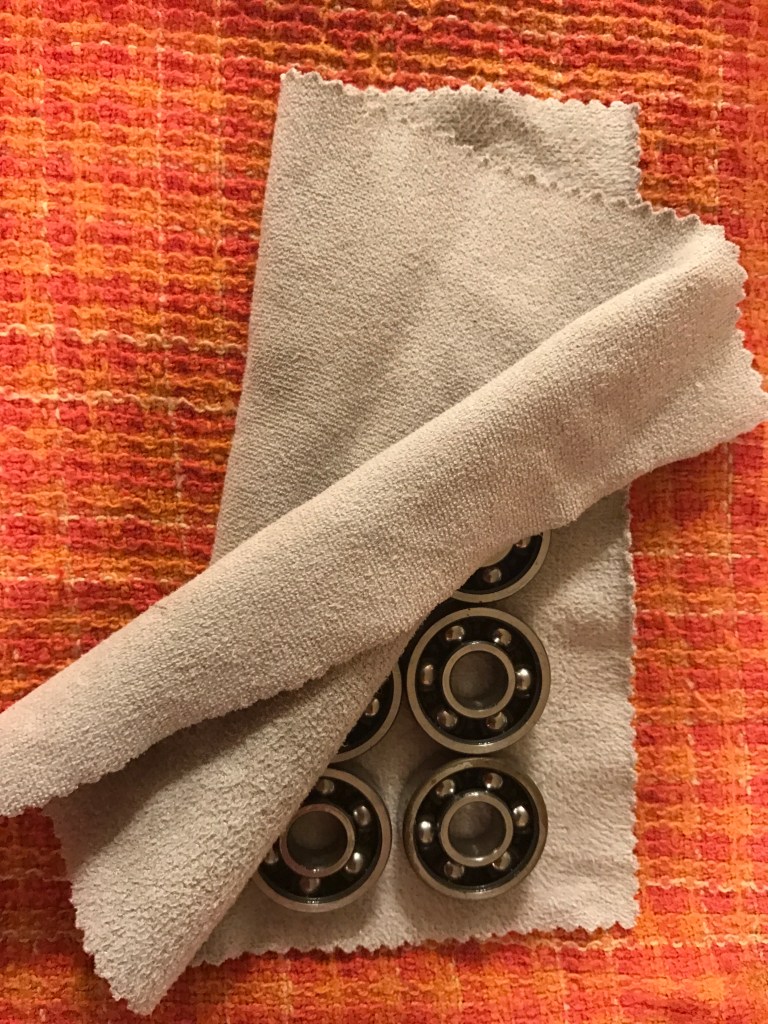
Remove the bearings from the axle and set them on your work towel and pat them dry. If you have a lint free cleaning cloth, or something like it that will help limit the dust and dirt introduced to the bearings while they’re still exposed. Give the bearings a wipe down and then flip the bearings over for another pat down with your towel. You’re drying the bearings off and also collecting any remaining dust or dirt that might still remain.
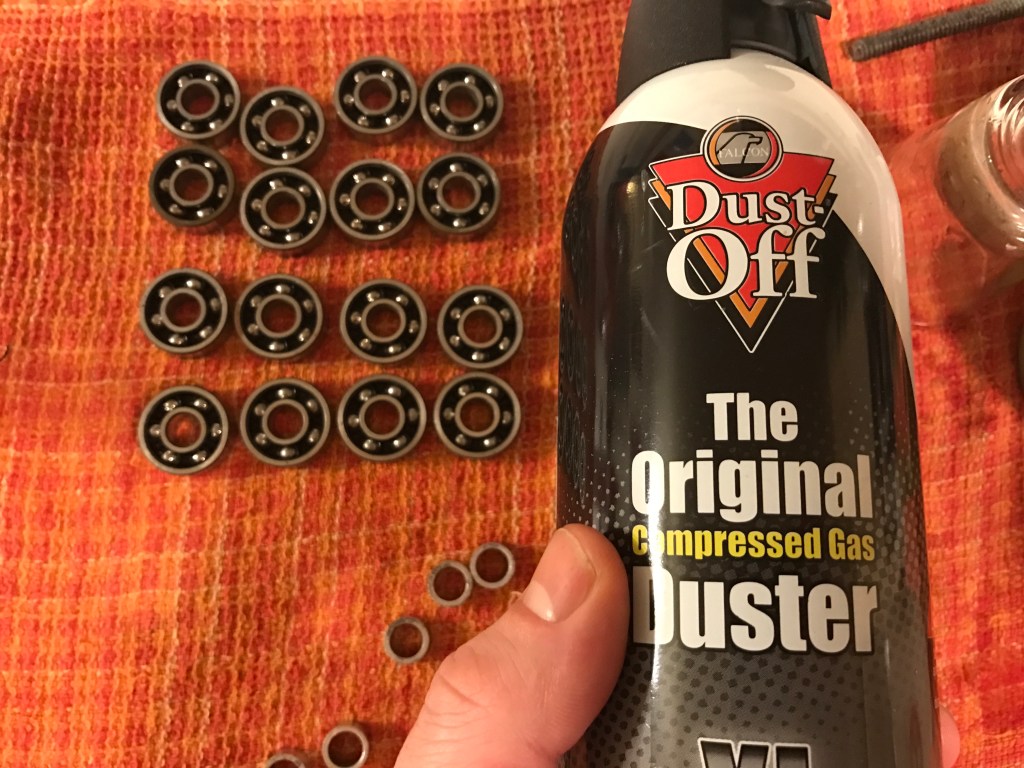
Bones will tell you that you can blast the bearings with compressed air, and if you’d like to you definitely can do that. We happened to have a can of air in the pantry so we gave each of these a quick blast to force out any remaining moisture from the wash cycle.
Step Seven
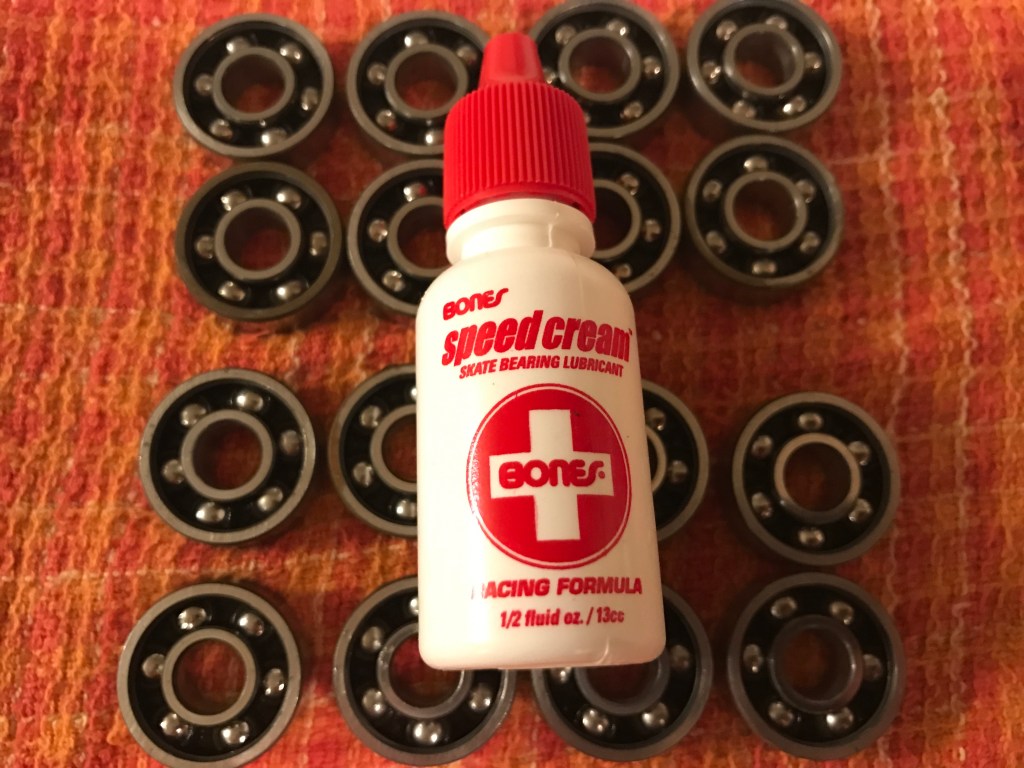
Once your bearings are clean and completely dry, it’s time to lubricate them. Grab your lubricant of choice, and prepare to lube and spin each bearing.
We prefer Bones Speed Cream when servicing our bearings. The directions advise one or two drops in each clean bearing, but we’re here to tell you that 1 drop is plenty of oil for each bearing. It’s worth mentioning here that more oil does not mean more speed, or better lubrication. When there’s too much oil in the bearing, the excess oil may leak which could be a hazard. Excess oil will definitely help dirt accumulate dirt more quickly too. If you accidentally over oil your bearings, wipe off as much excess as you can with your towel.
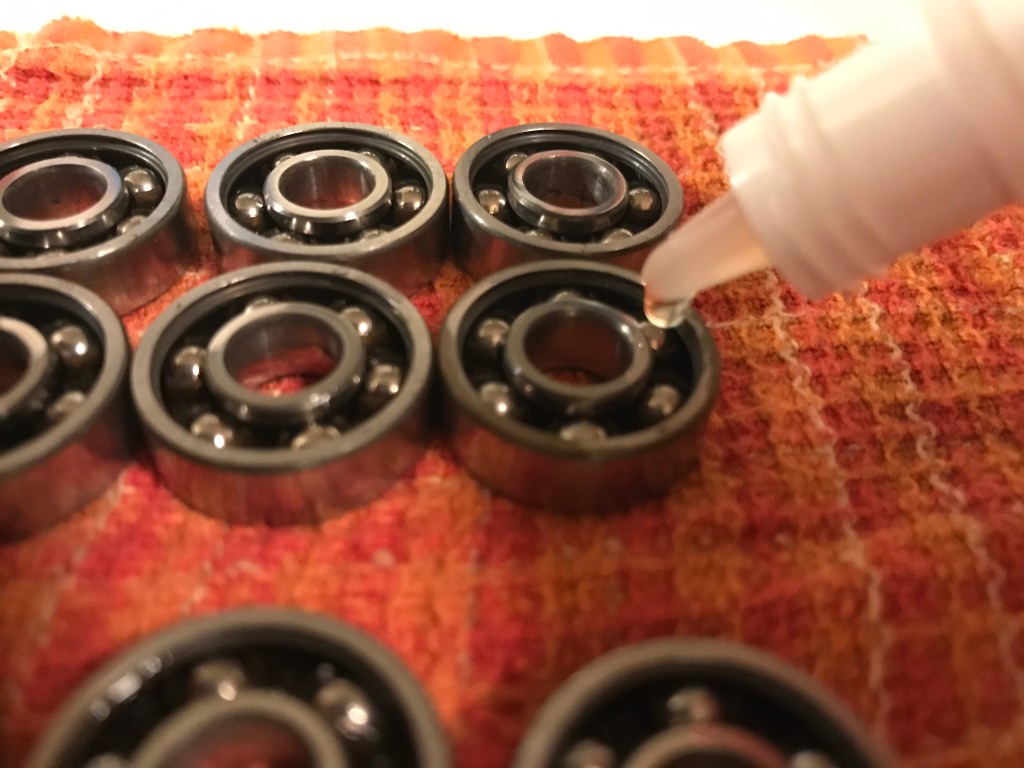
Apply one drop of oil to one bearing and give it a spin in between your thumb and forefinger to help distribute the lubricant evenly across each of the individual balls in the bearing. Repeat this for each of the bearings that you’re servicing. Again, if there’s any excess oil, just wipe it off with a clean towel.
Step Eight
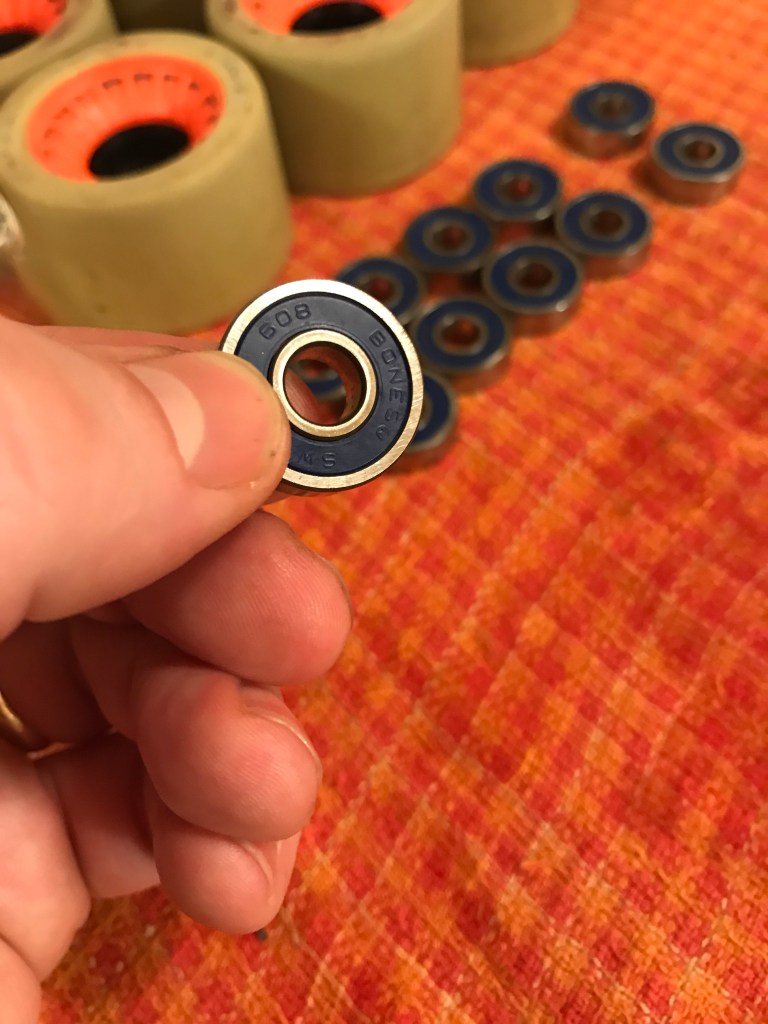
Retrieve the rubber coated metal shields we set aside at the end of Step Three; it’s time to re-install them. Make sure the shields are completely dry (if not, pat them down some more or wait until they’re dry…we don’t want to trap any moisture inside the bearing) and press them back into place on each open bearing.
Press your thumb around the bearing to make sure the shield is completely back in place. Sometimes the edges need a little extra pressure to ensure they’re seated all the way around. That’s it, we’re done. Now these bearings are fresh and clean and ready to roll.
Tools of the Trade featured in this How To
Everyone has different tools and supplies they like and here are the ones we like and used for this maintenance:
The Wrap Up
Thanks for checking out our How To on cleaning your roller skate bearings. If you’ve found this content to be useful or helpful, please consider sharing it with one of the buttons below. Thanks for stopping by and for the chance to serve you!